
Una Una
Isla volcánica con arena negra, cráter activo y el mejor buceo del archipiélago.
Snapshot
Parada dedicada de varios días para buceo y trekking volcánico.
2-3 días.
Snapshot
Parada dedicada de varios días para buceo y trekking volcánico.
2-3 días.
Por qué es especial
- • Volcán activo con una caldera de 2 km accesible — una oportunidad única de caminar por un cráter volcánico vivo.
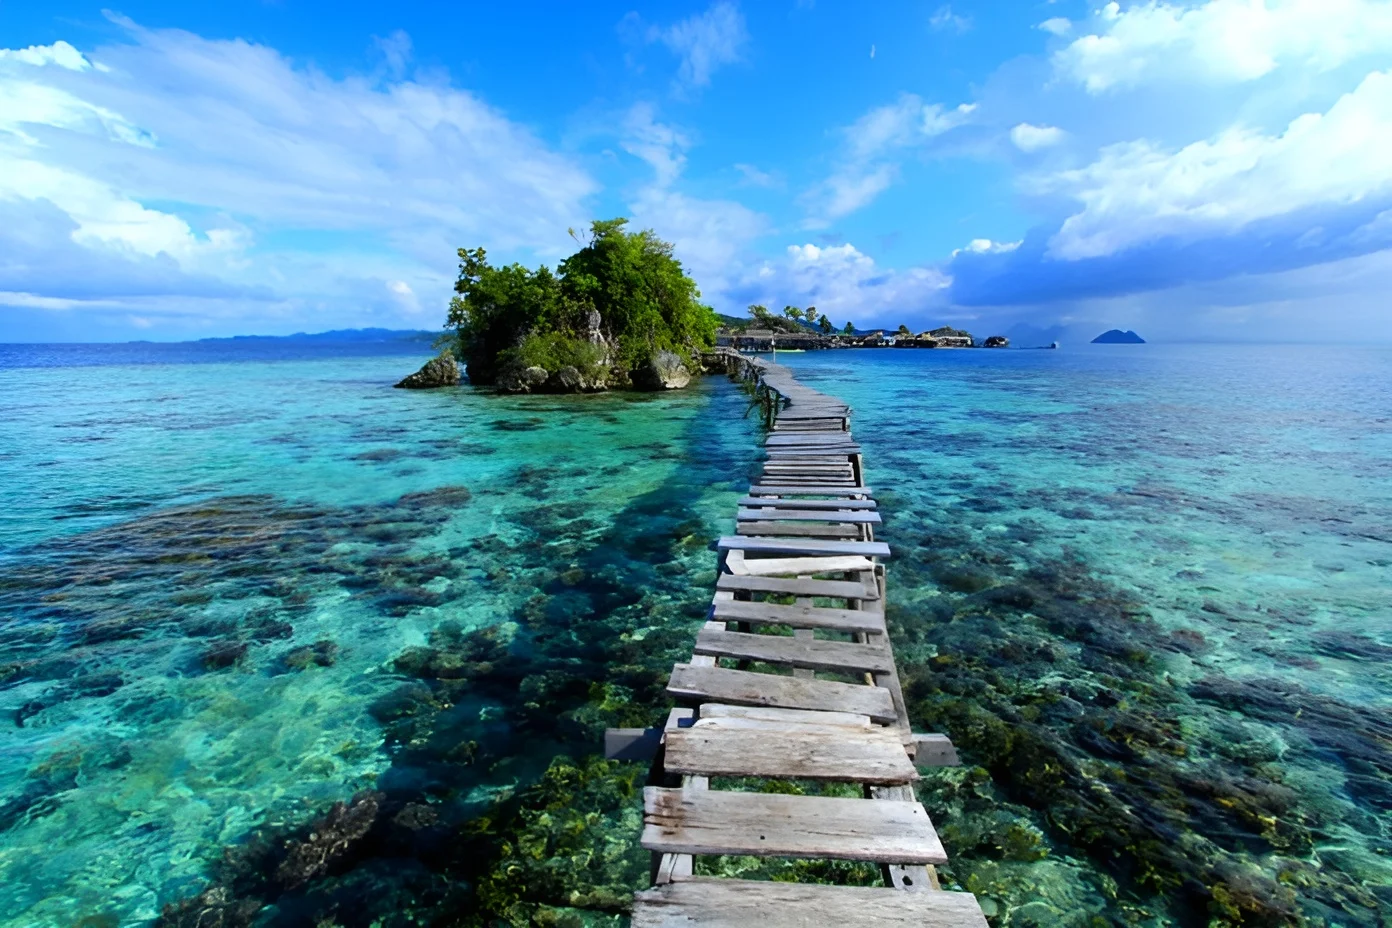
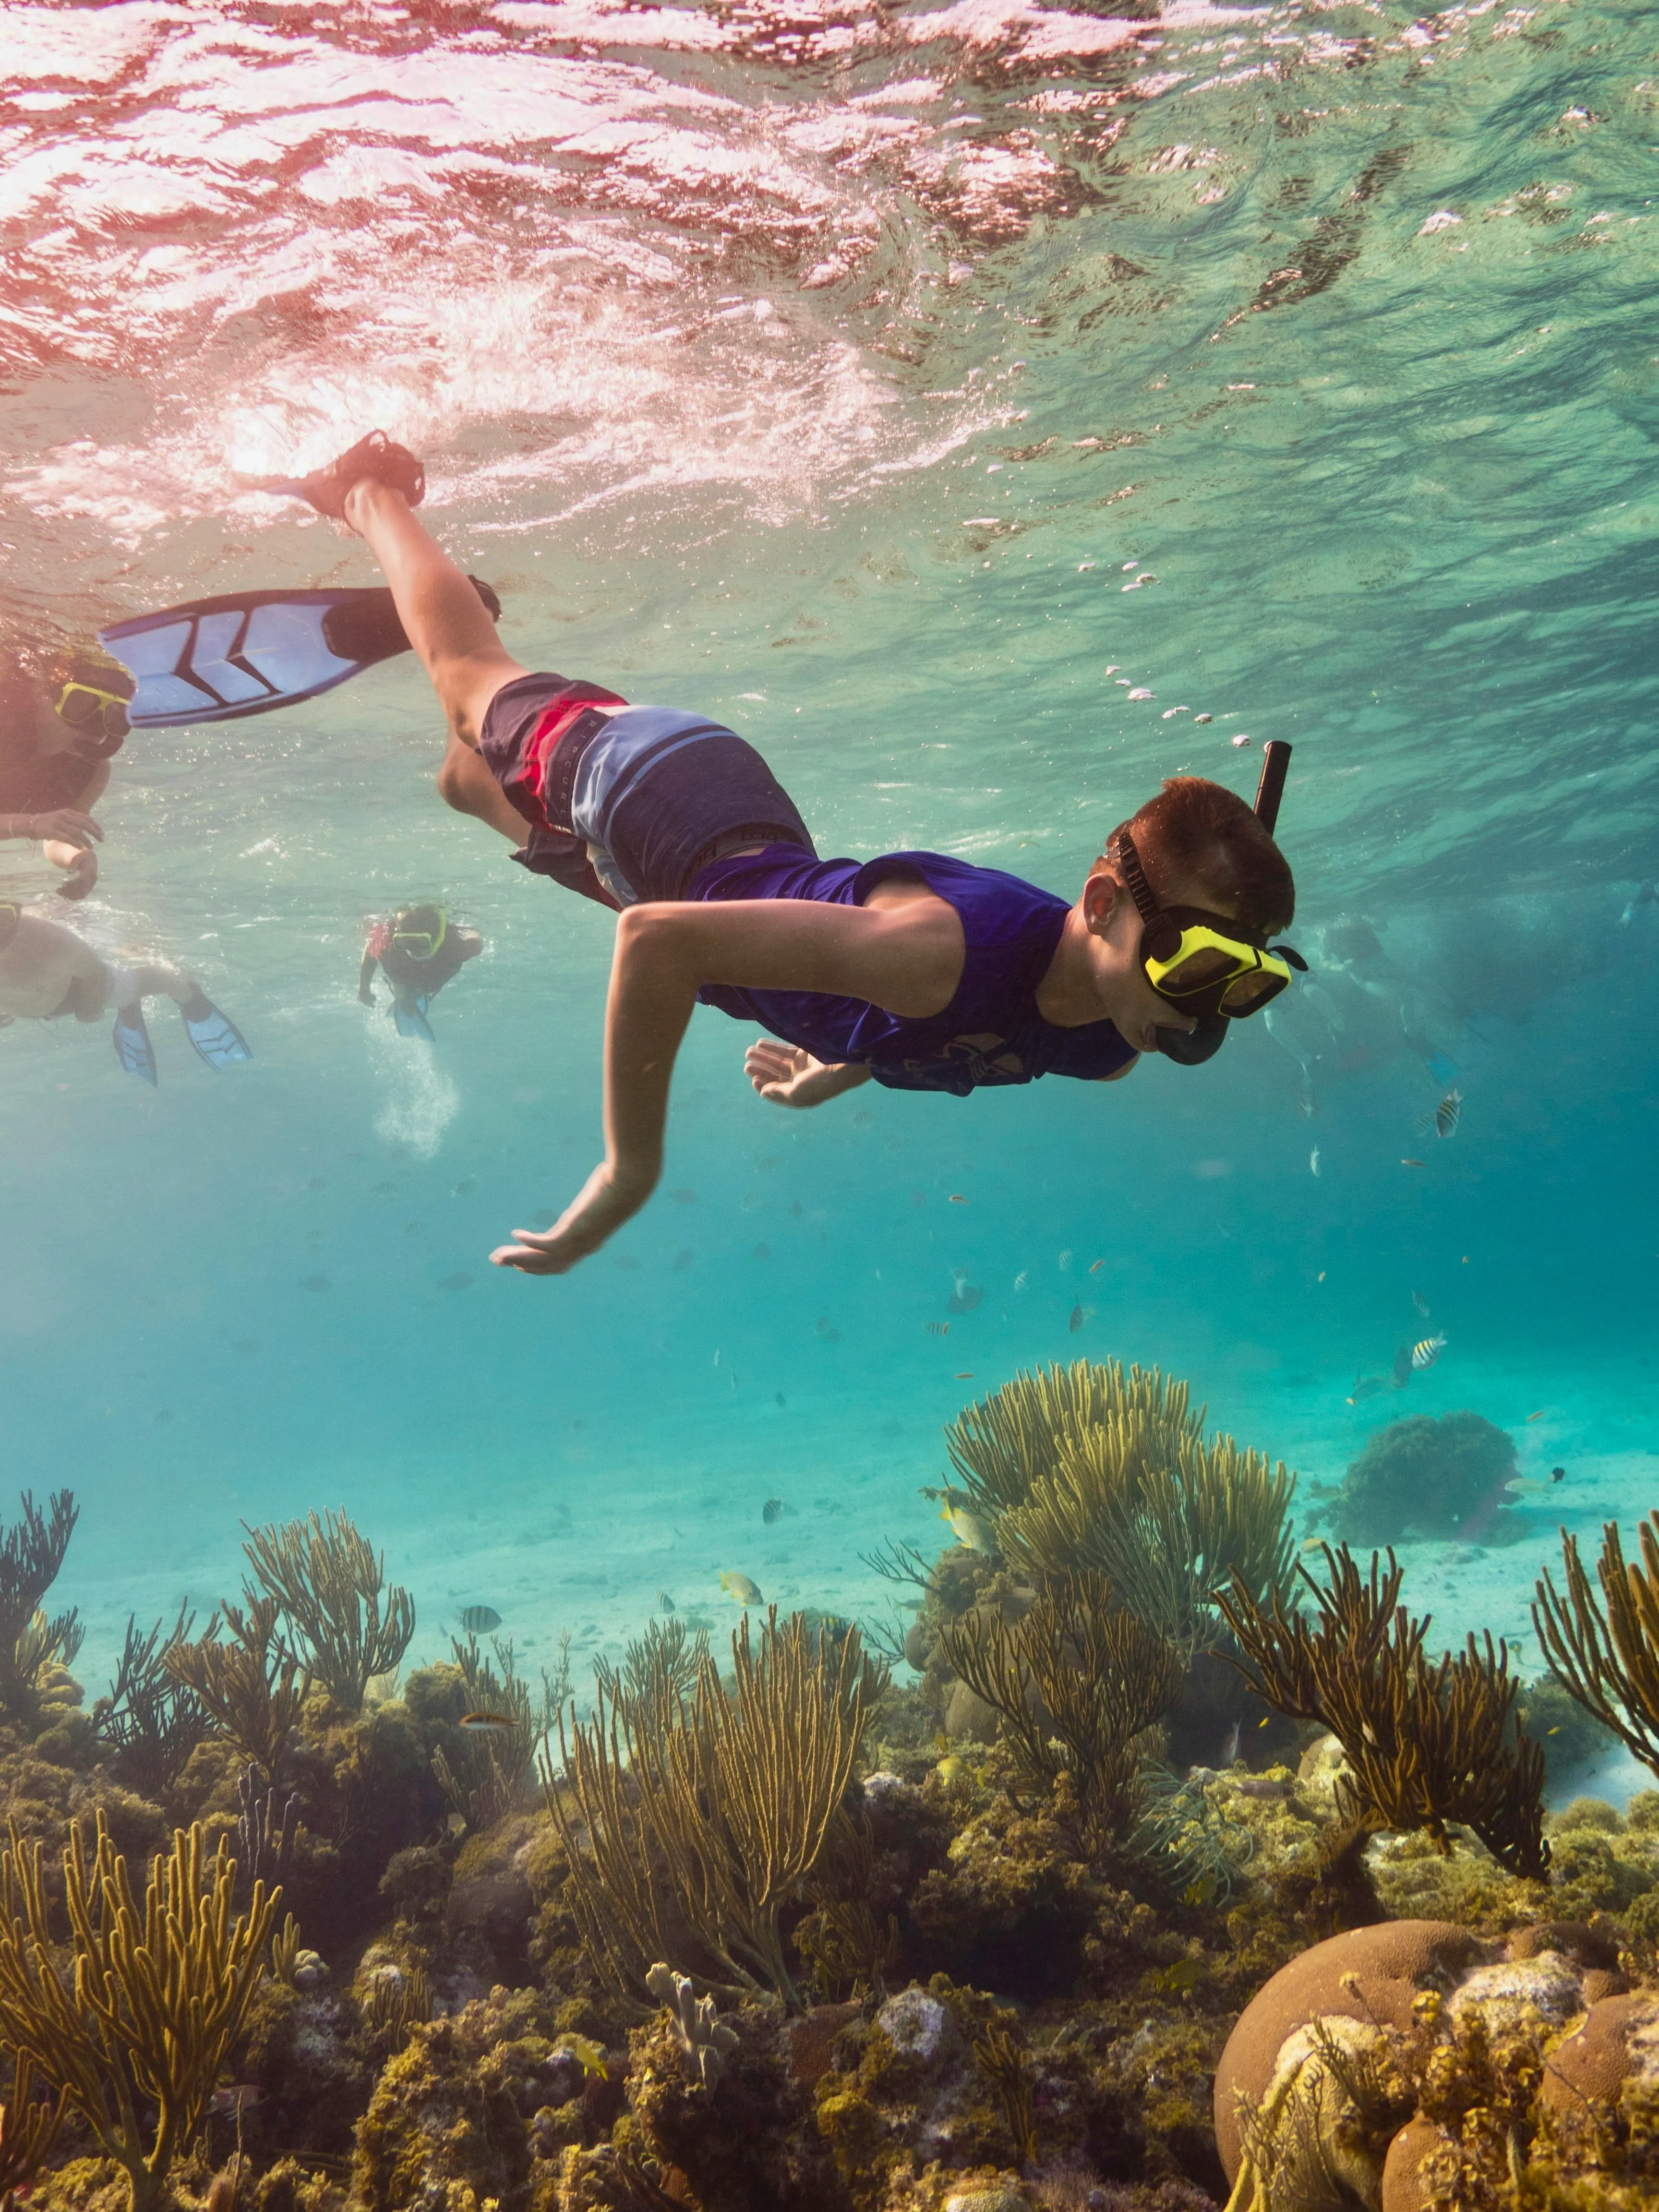
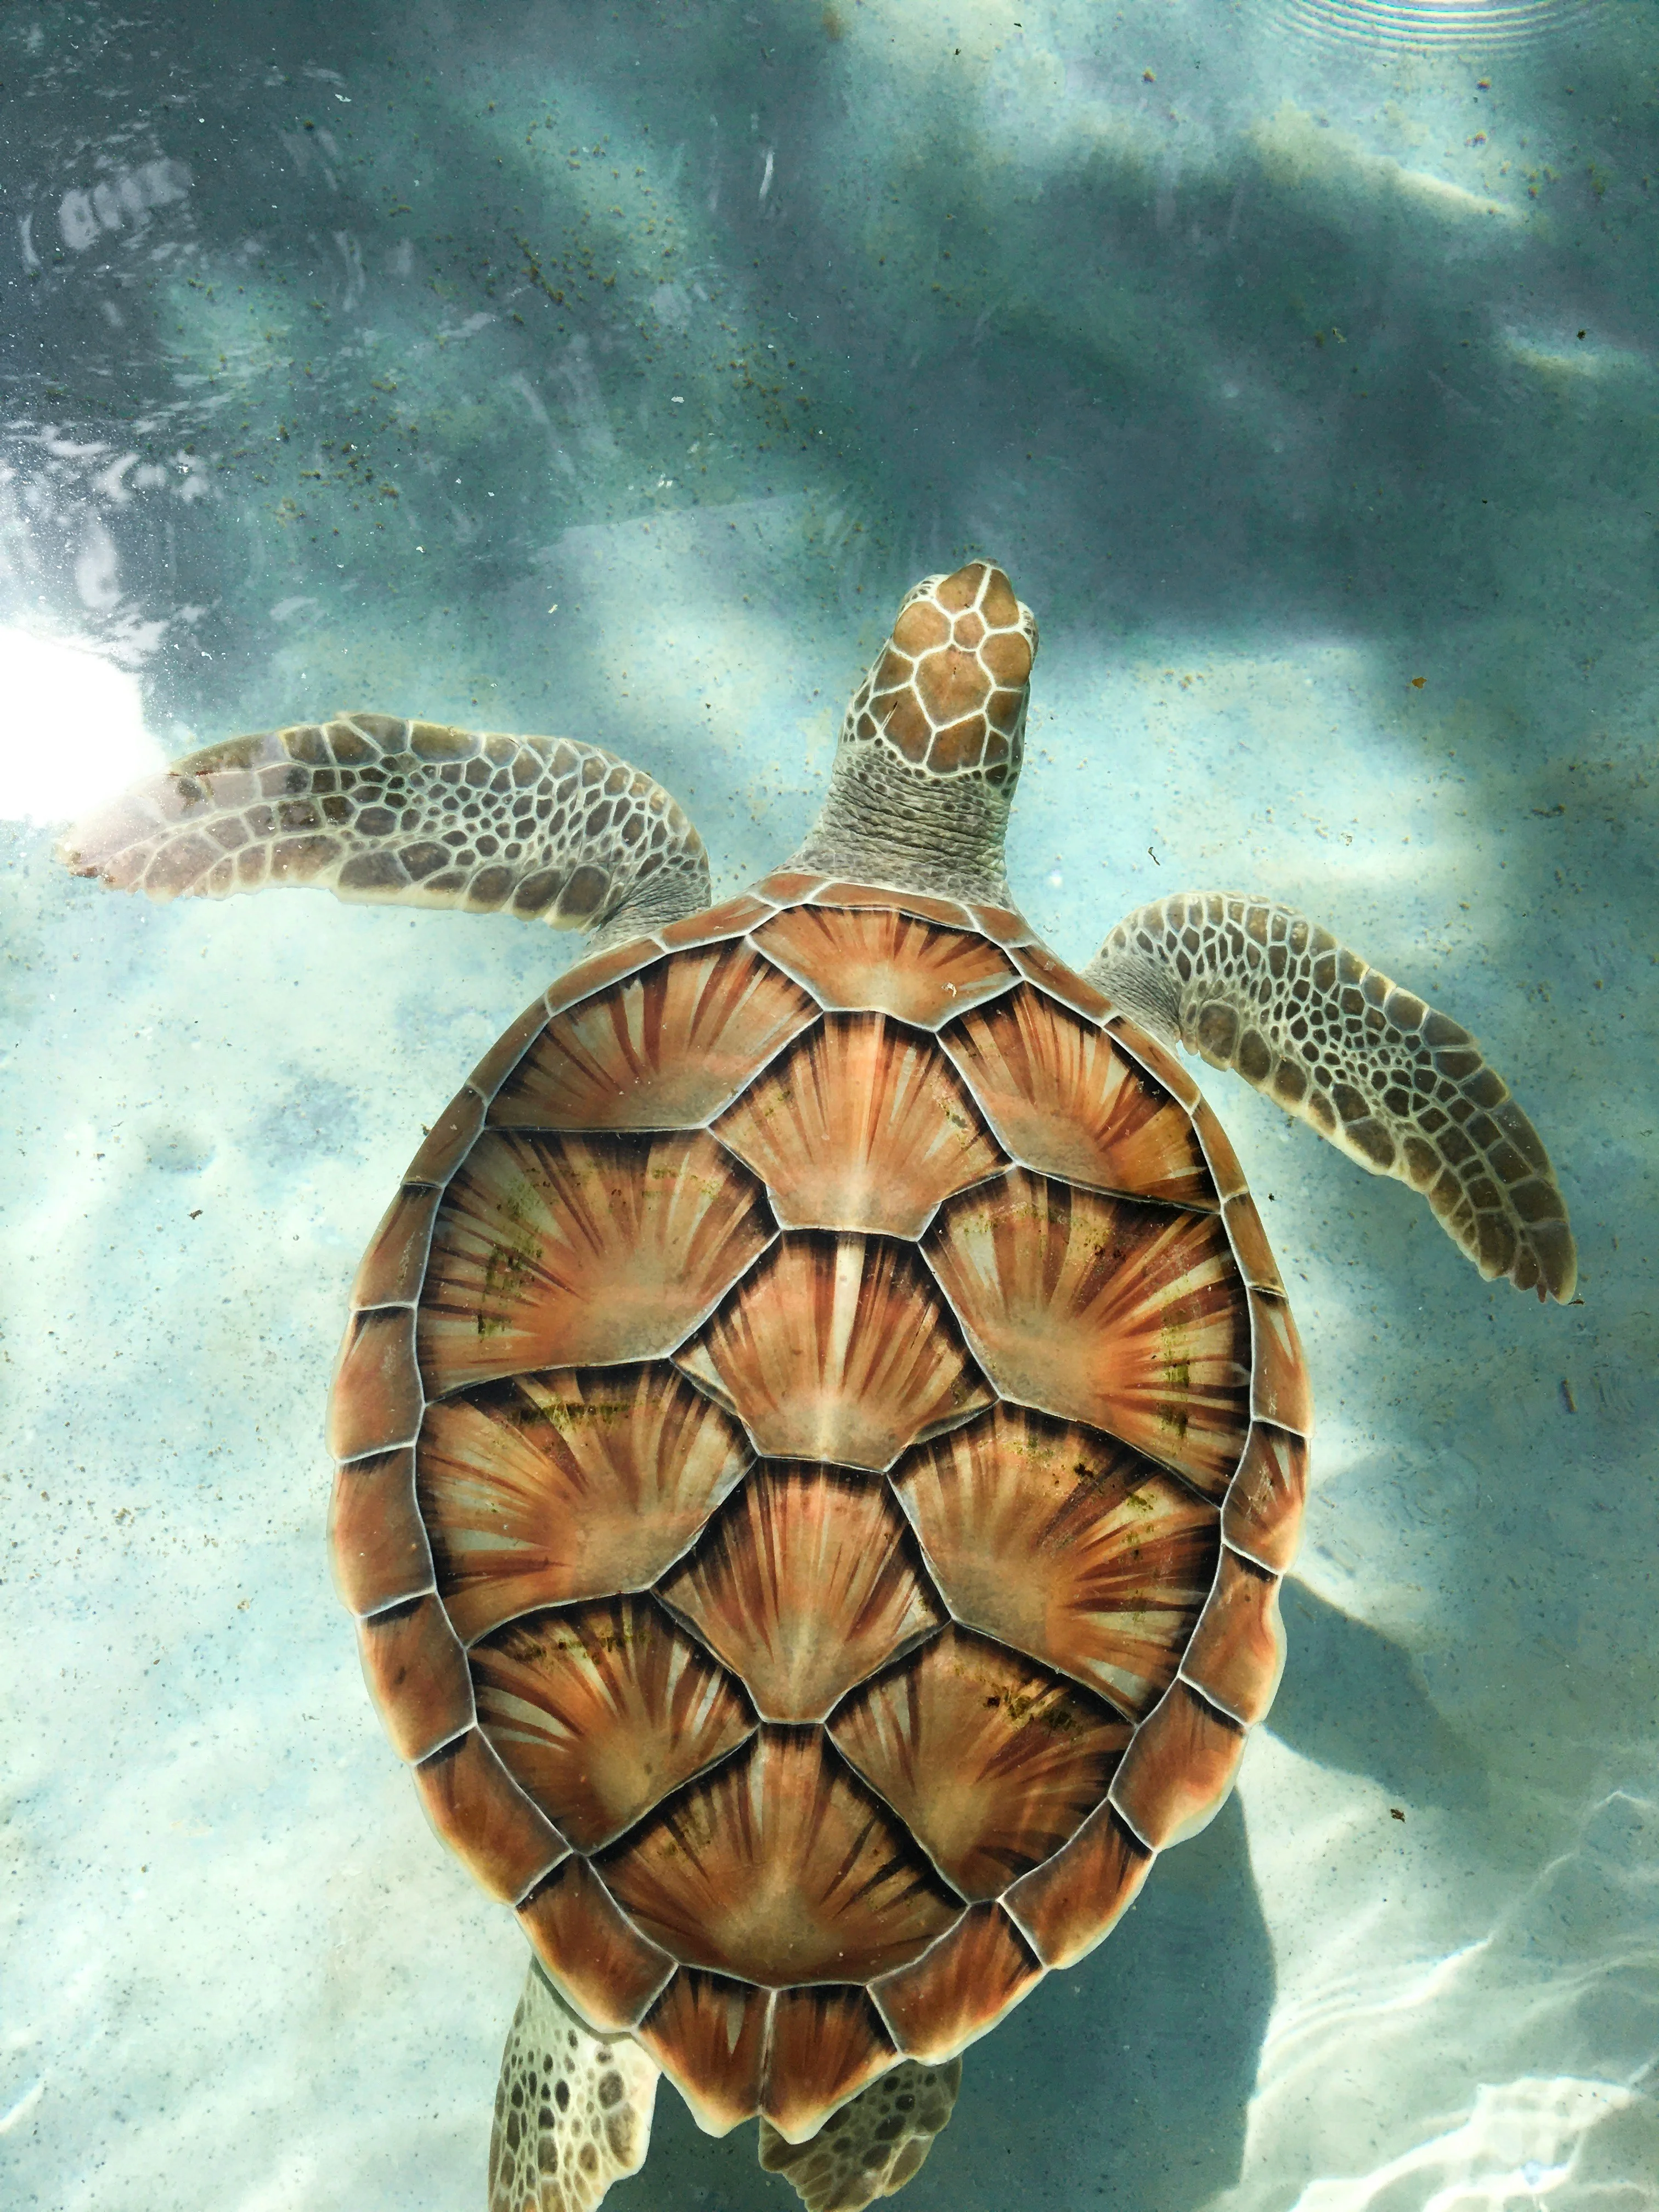
- • Considerado consistentemente el mejor buceo de las Togean — puntos como Apollo, Pinnacle y Menara con 30-40 m de visibilidad.
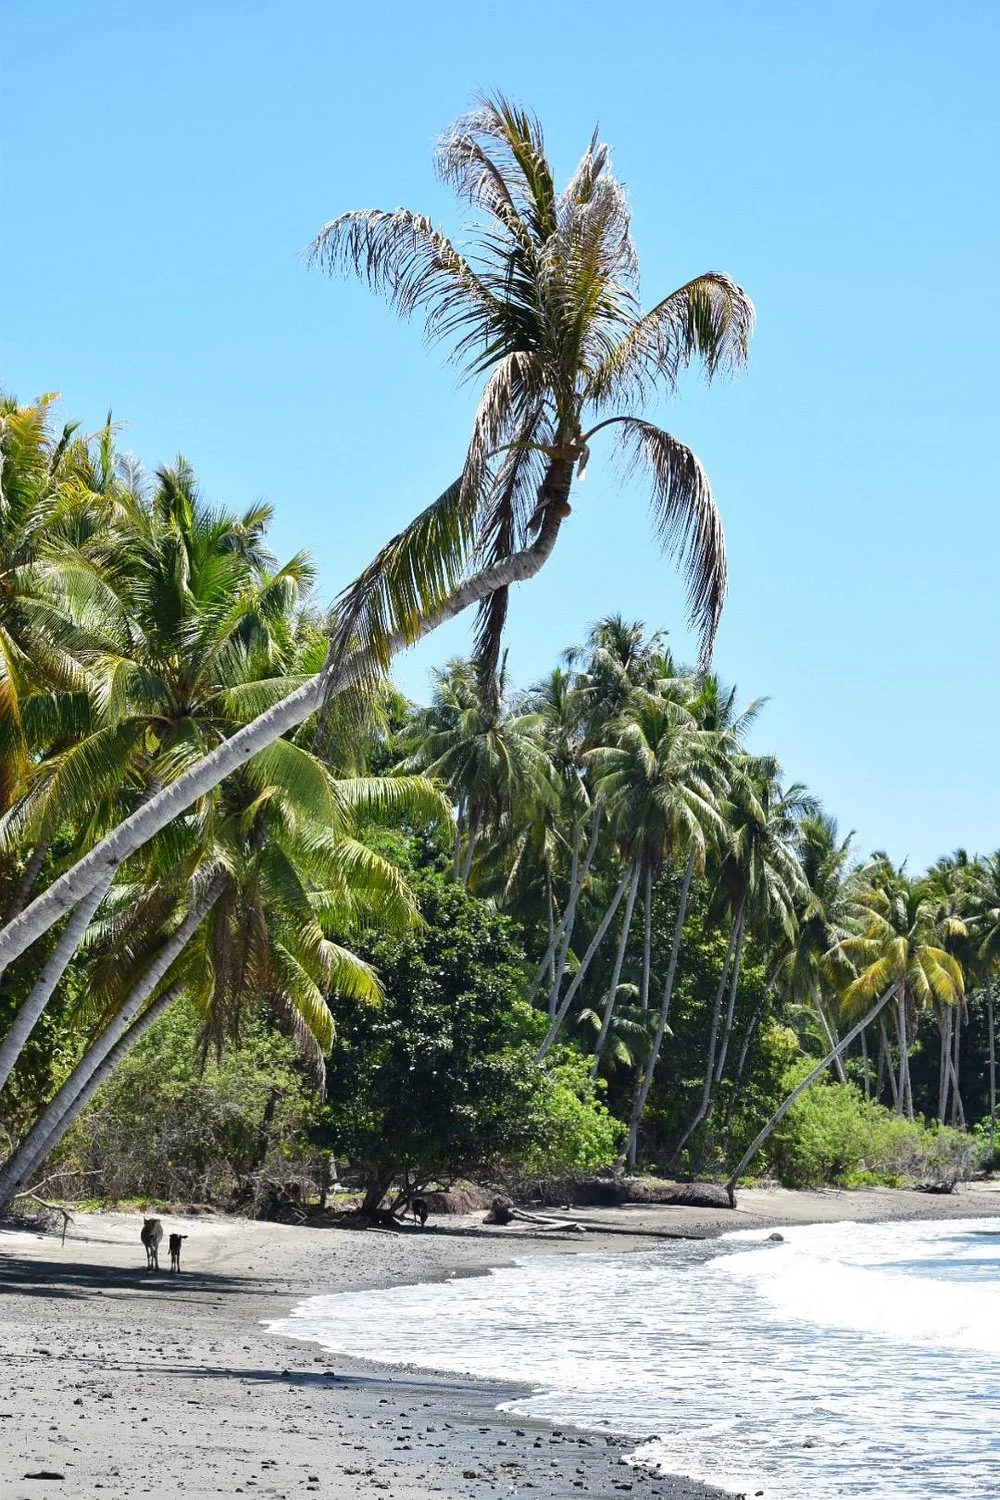
- • Playas de arena volcánica negra que contrastan con el agua turquesa y la exuberante vegetación post-erupción.
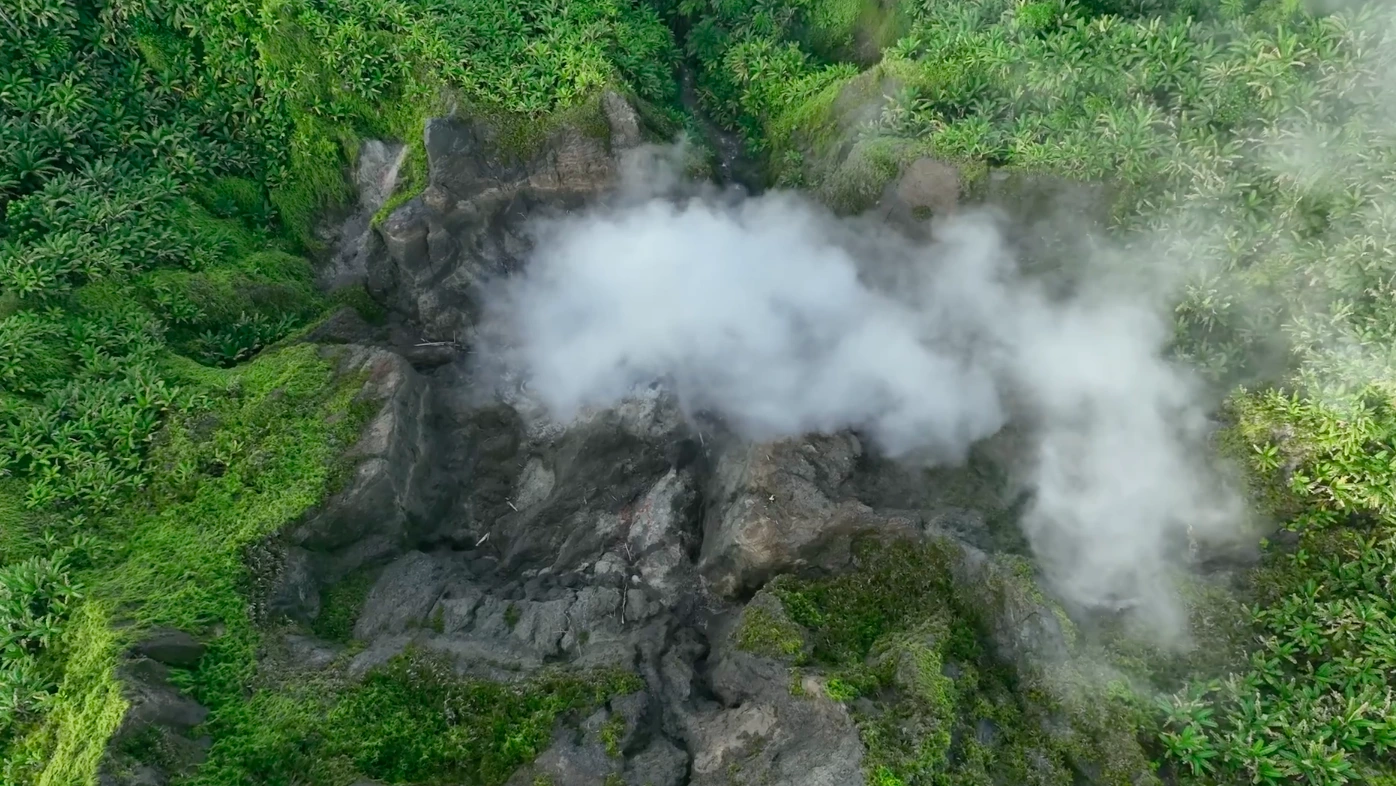
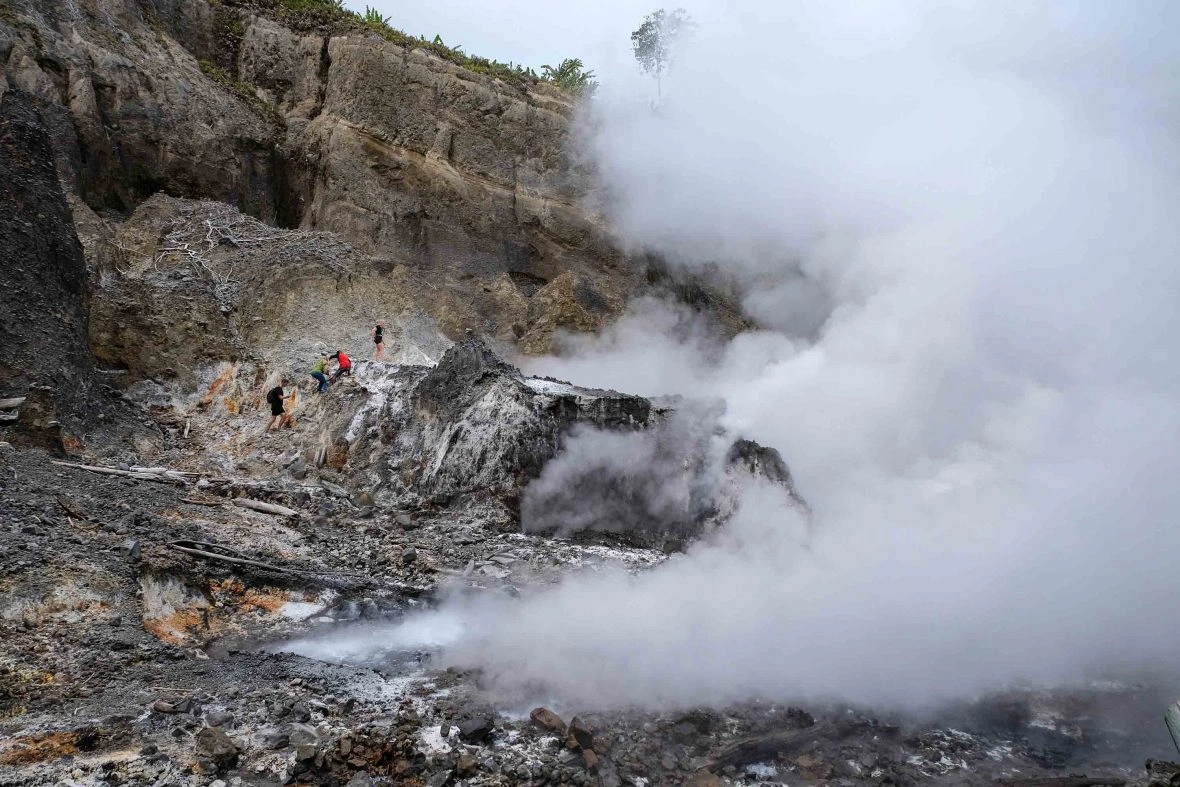
Trekking al volcán Monte Colo
Sube los 500 metros del volcán hasta alcanzar la caldera de 2 km de diámetro formada por la erupción de 1983. El fondo del cráter está cubierto de vegetación, las fumarolas volcánicas aún liberan calor, y las vistas se extienden por todo el archipiélago. El sendero asciende a través de cocotales que crecen en el fértil suelo volcánico.
Caldera de 2 km de diámetro
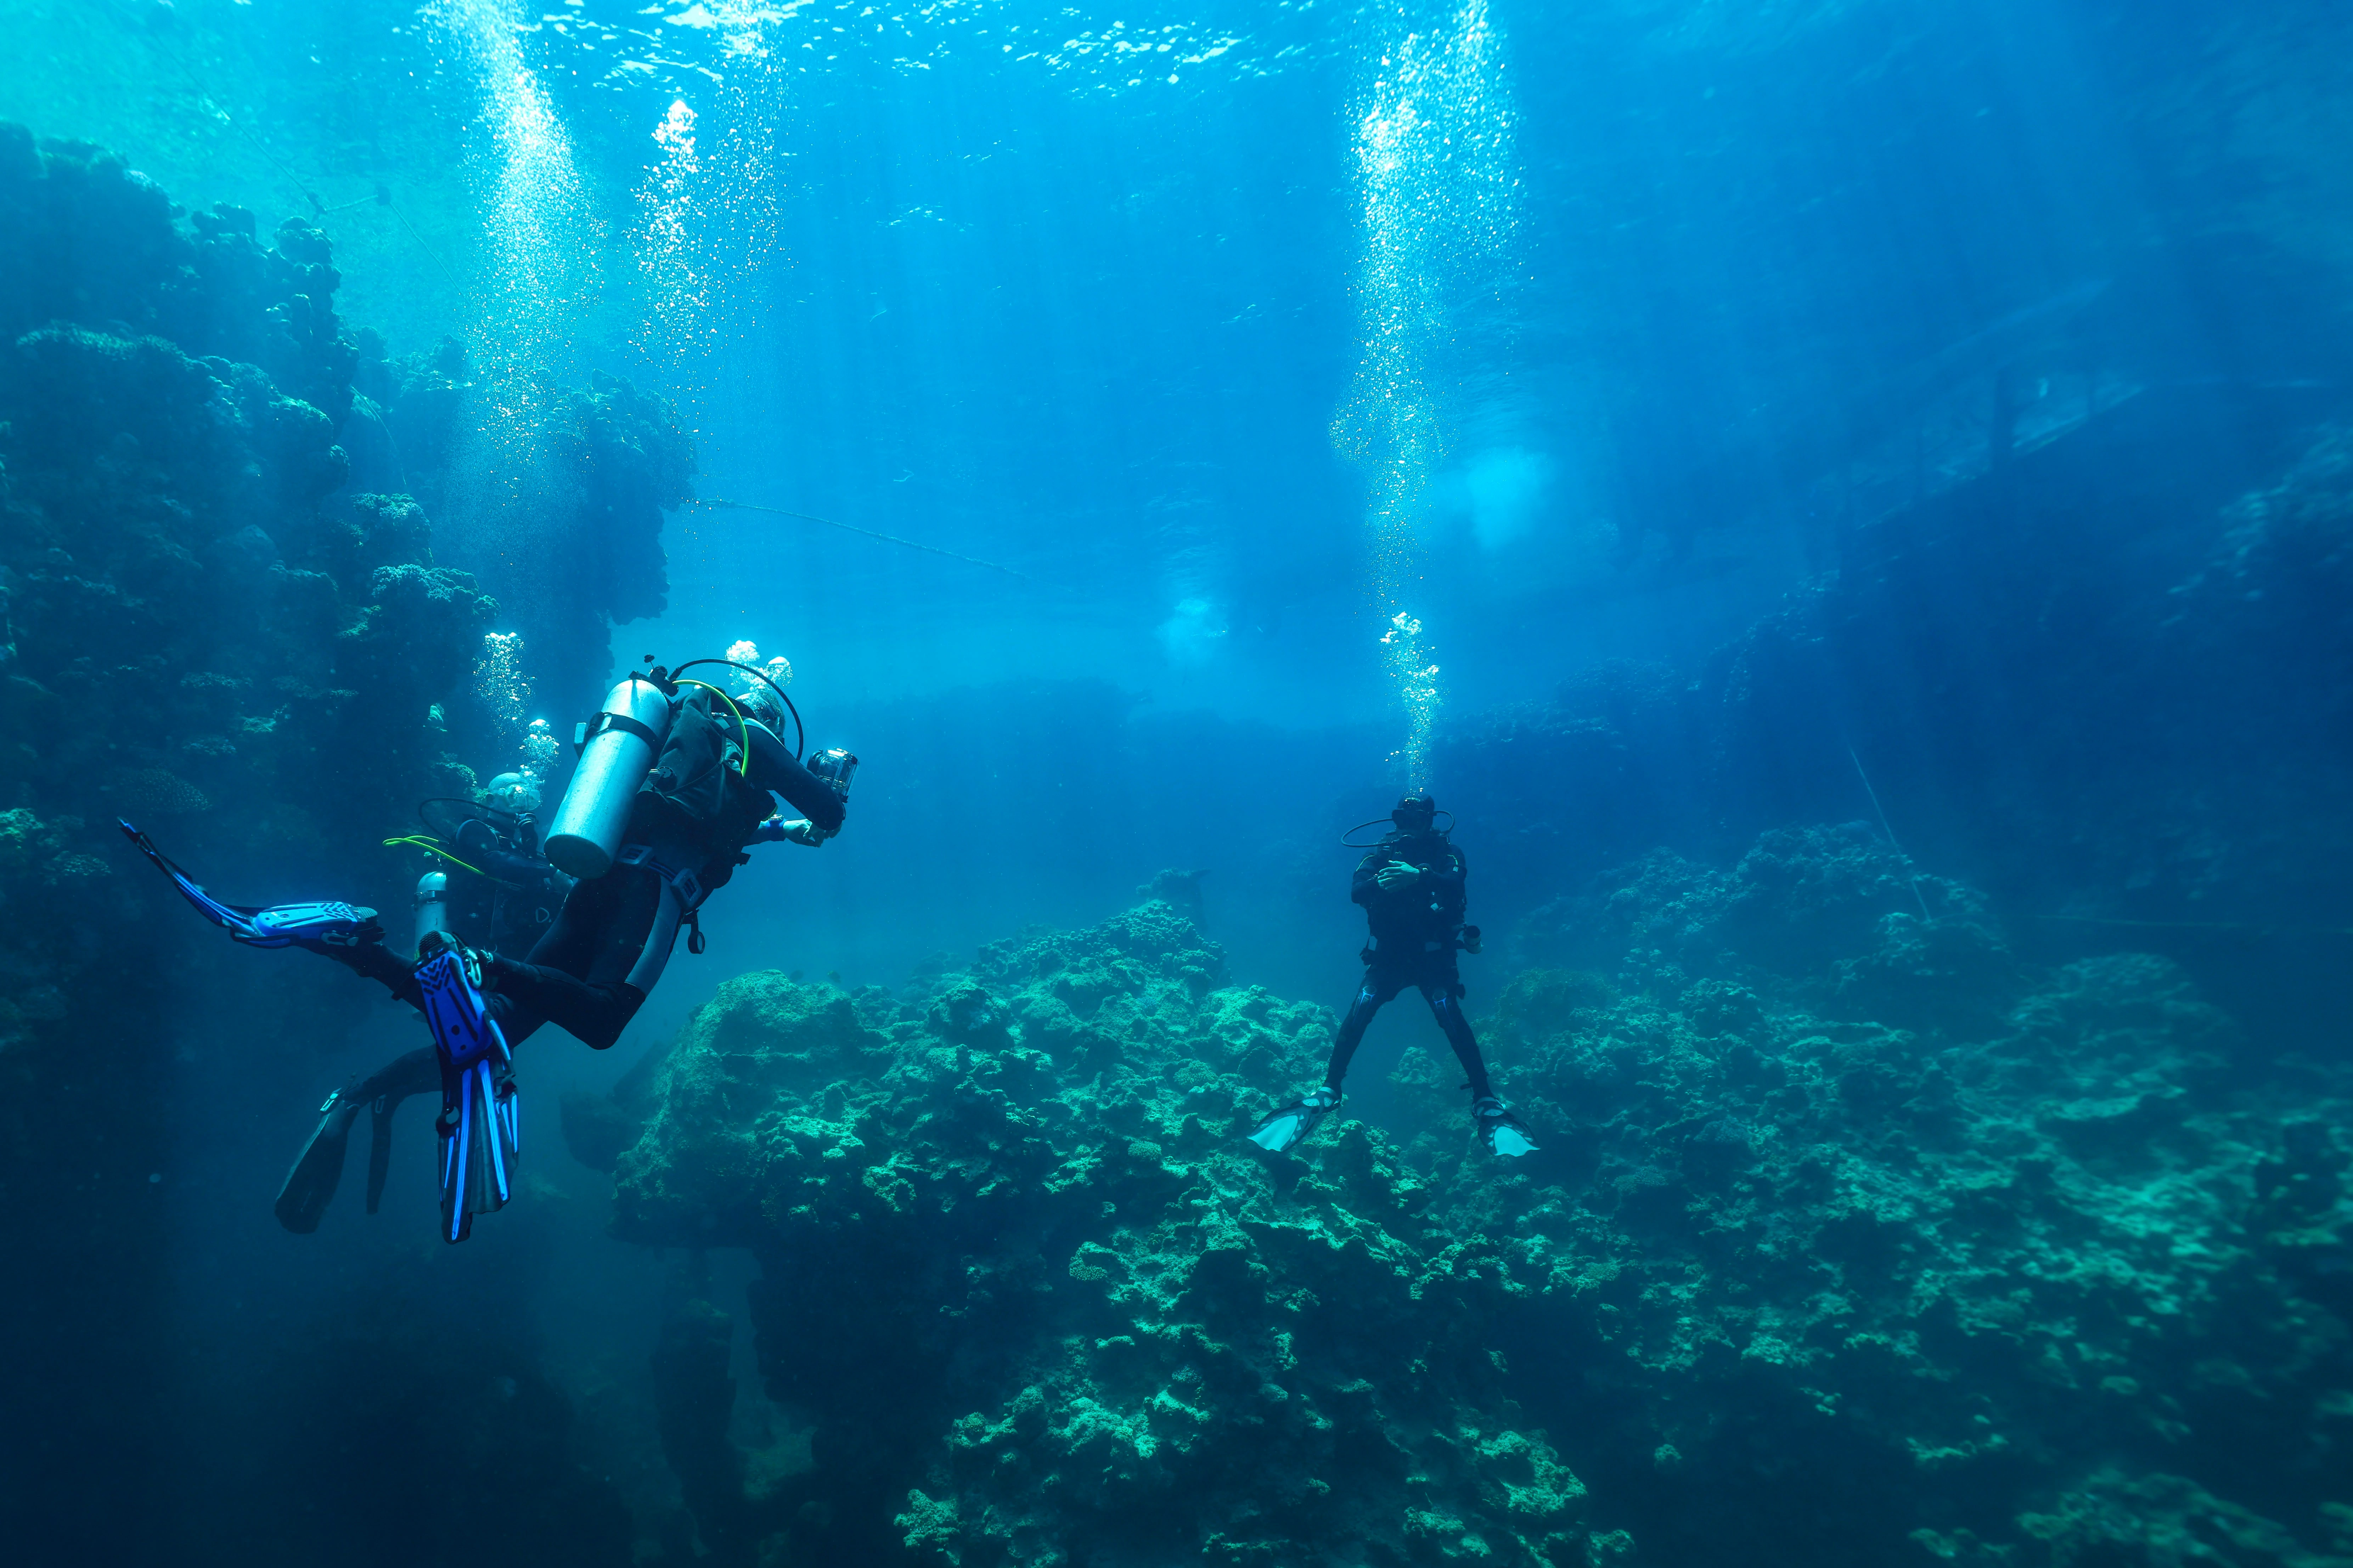
Puntos de buceo de clase mundial
Puntos como Apollo, Pinnacle y Menara ofrecen entre 30 y 40 metros de visibilidad con corales enormes, esponjas gigantes, bancos de barracudas, jureles, tiburones de arrecife y tortugas. Los nutrientes volcánicos de la erupción de 1983 han enriquecido los arrecifes, generando una salud coralina y una densidad de peces sin igual en el resto de las Togean.
30-40 m de visibilidad
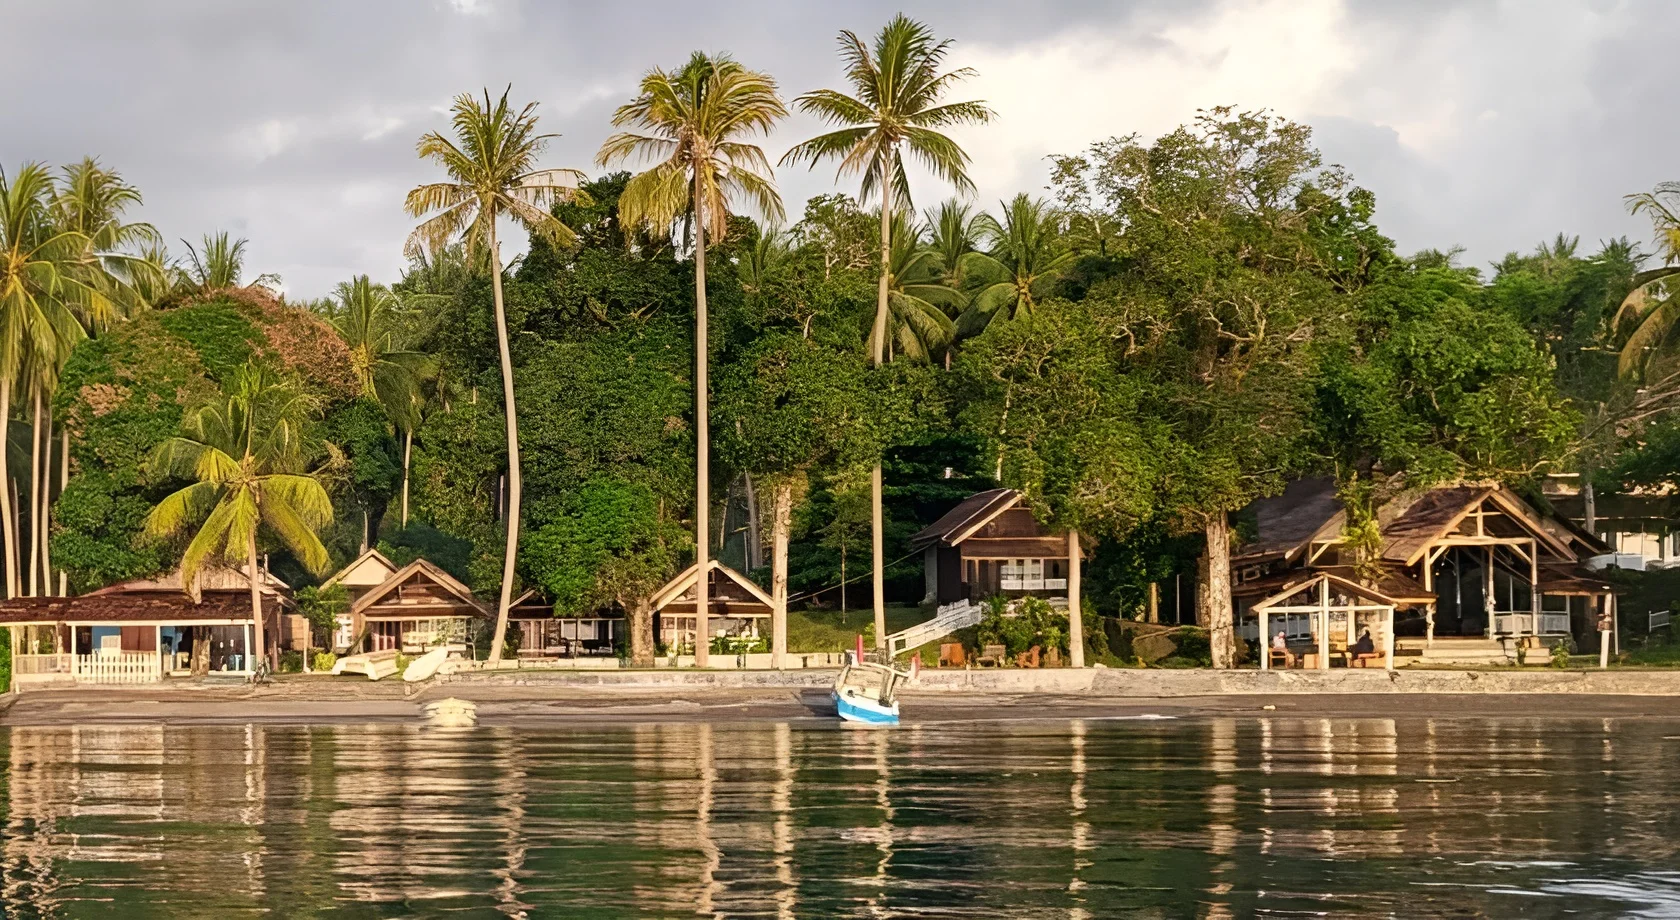
Aldeas de la costa este
Menos de 2.000 habitantes viven en aldeas agrupadas a lo largo de la costa este, donde la arena volcánica negra se encuentra con el agua. Mezquitas, pequeños puertos, casas reconstruidas tras la erupción de 1983 y senderos que serpentean entre cocotales. No hay carreteras que conecten los asentamientos — el desplazamiento es a pie por senderos costeros o en barco.
Aldeas de la costa este
Aldeas de la costa este
Menos de 2.000 habitantes viven en aldeas agrupadas a lo largo de la costa este, donde la arena volcánica negra se encuentra con el agua. Mezquitas, pequeños puertos, casas reconstruidas tras la erupción de 1983 y senderos que serpentean entre cocotales. No hay carreteras que conecten los asentamientos — el desplazamiento es a pie por senderos costeros o en barco.
Aldeas de la costa este
Planificación de ruta
Parada dedicada de varios días para buceo y trekking volcánico.
2-3 días.
- — Sin cajeros automáticos en toda la isla. Lleva todo el efectivo necesario para tu estancia.
- — Electricidad solo con generador — normalmente en horario nocturno en los resorts.
Datos prácticos
- •Volcán: Pico activo de 500 m con caldera de 2 km accesible mediante trekking guiado. Las fumarolas siguen activas.
- •Buceo: El mejor de las Togean — 30-40 m de visibilidad en los puntos Apollo, Pinnacle y Menara. Reserva con antelación en los resorts de buceo.
- •Playas: Arena volcánica negra que se calienta intensamente al sol. Lleva sandalias para caminar por la playa.
- •Aldeas: Menos de 2.000 habitantes agrupados en la costa este. Sin carreteras — desplazamiento por senderos costeros o en barco. La recuperación post-1983 continúa.
In Moments
.webp)